
One freestanding bathtub can look great. But only if the space around it stays clean too. Most dirt is not in the middle of the bowl. It shows up at the base gap. It appears on the floor line. And it builds around the drain parts. Those spots grab dust. They catch soap film. And they hold hard-water marks.
If your tub is solid surface with a slick, hole-free finish, cleaning can be simple. You just need soft tools. You need the right cleaner. And you need a routine you can follow. This guide shows you how to clean around a freestanding bathtub without scratching. It does so step by step.
Why Scratches Happen Around Freestanding Tubs (Not Just Inside the Bowl)
Scratches near a freestanding tub often come from small bits of dirt. Not from one big slip-up. The floor area around the base collects dust. It gathers sand-like pieces. When you wipe those bits across the surface, they can act like rough paper. Narrow gaps make this worse. Quick cleaning makes it worse too.
Over time, the finish can start to look cloudy. It may still be clean. But it does not look fresh anymore.
The 3 Main Triggers
The first trigger is grit. Dust, hair, and tiny mineral bits sit right where you wipe the most.
The second trigger is the wrong pad or brush. Tough scrub pads work. Magic-eraser style sponges do too. And stiff brushes can leave thin lines. Those lines are small. But they build up.
The third trigger is strong chemicals. Some cleaners can dim the finish. Others leave a sticky coat. That coat can pull in more dirt later.
“Pore-Free” Does Not Mean “Scratch-Proof”
A pore-free surface is fine for quick wipe-downs. Grime has fewer spots to stick. Still, it can scratch if you drag grit across it. Solid surface stays good when you clean it lightly. Rinse well. And skip rough tools.
What You’ll Need (Solid Surface-Safe Cleaning Kit)
A safe plan is more about the tools than about tough work. With the right items, you wipe instead of scrubbing. That guards the finish. And it cuts time.
Tools That Won’t Scratch
Use a few microfiber cloths. Keep them apart. Use one for the bowl. Use another for the floor line. This stops you from spreading grit.
Add a soft sponge for the inside and the outside walls. Keep a gentle detail brush for edges and hardware. A soft toothbrush can work too. If you get hard-water spots a lot, a small squeegee can help.
Cleaners That Work Without Abrasive Scrubbing
For daily cleaning, warm water and mild soap are usually fine.
For weekly cleaning, pick a mild bathroom cleaner without grit. If you have soap scum or hard-water film, use a special cleaner. Always test first in a small hidden spot.
Skip gritty powders and tough pads. Also skip harsh solvents. If it smells like a strong shop chemical, it is probably too rough for a solid surface bathtub care routine.
What Is the Best Material for a Freestanding Bathtub If You Want Easy Cleaning?
The best material for a freestanding bathtub depends on what you value most. Some folks want easy cleaning. Others want good heat keeping. Some need a light tub for fix-up jobs.
If easy care is your main aim, solid surface is often a wise choice. The pore-free surface helps cut trapped dirt. It can also keep a tidy, even look when you use soft care.
Acrylic can be lighter and less costly. Cast iron can hold heat well, but it is heavy and tougher to shift. The best pick is the one that suits your space, your floor strength, and your ways.
The 2-Minute After-Use Routine (Prevents Most Buildup)
If you want less scrubbing later, stop buildup soon. Soap film and minerals get tougher once they dry. Two minutes after each use can save you lots of effort.
Rinse, Wipe, Dry (Including the Floor Line)
First, rinse the bowl and the splash spots with warm water. Next, wipe the tub with a microfiber cloth. Pay attention to the lower outside wall. Water likes to drip down there.
Then dry the floor line around the base. This counts a lot. It helps stop the white, powdery ring that can form around a freestanding tub.
Small Habits That Keep the Area Cleaner
Airflow helps. Run the fan. Or open a window if you can. The quicker the area dries, the less buildup you see.
Also keep bold color items away from the tub edge. Hair dye and some oils can mark if they sit too long.
Weekly Deep Clean Without Scratching (The “Let It Sit” Method)
For weekly cleaning, do not scrub harder. Instead, let the cleaner sit. Wait time softens soap scum and film. Then you can wipe lightly.
This way is the core of cleaning around a freestanding bathtub without scratching. It is easy. And it is better for the finish.
Step-by-Step: Bowl First, Then Exterior
Start with a warm rinse. Spray or put your cleaner evenly. Let it sit for a bit. Then wipe with a soft sponge.
After that, rinse well. Rinse longer than you guess. The cleaner left behind can make a film later. Finally, dry with a microfiber to reduce water spots.
How to Clean the Gap Around a Freestanding Tub Base
See the base gap as a two-part task.
First, clear the grit while the area is dry. Vacuum with a soft brush tool, if you have one. If not, use a dry microfiber cloth and pick the dust out.
Second, move to wet cleaning. Wrap microfiber around a thin plastic card. Slip it into the narrow gap. Wipe lightly. Rinse the cloth often.
End by drying the floor line. This helps block a dirty ring from returning soon.
Mold-Prone Zones to Hit Every Week
Some spots stay damp longer. The back side near a wall is one. The area near a window can be another. If you have silicone seams, those can trap water too.
Wipe those zones each week. Then dry them. Mold likes wet corners. Your plan should keep those corners dry.
Stain Playbook (Soap Scum, Hard Water Marks, Dye, Oils)
Different stains need different steps. If you choose the wrong one, you waste time or hurt the finish. Keep it basic. Spot the stain. Start soft. And only go stronger if needed.
Soap Scum That Keeps Coming Back
Soap scum is a blend of soap and minerals. Use a film-removing cleaner. Let it sit short. Then wipe lightly.
Rinse very well. If the cleaner stays on the surface, it can leave a film. That film can pull more dirt. Drying after rinsing helps a bunch.
Hard Water Spots and Mineral Film
Minerals can leave a dim haze. Mostly near the floor line. Use a mild lime scale method. Test first. Keep the touch time short. Wipe softly.
Rinse all, then dry. If spots return fast, add the squeegee step after each use.
Dye, Oils, and Product Spills
Move quickly. Blot first. Then rinse. Wash with mild soap. Do not rub hard with a tough pad.
If a stain stays, try a safer special cleaner after testing. Then rinse and dry again.
Don’t Forget the Hardware: Pop-Up Drain + Overflow
Hardware is where dirt hides. It also catches the eye because it is in plain view. A fast weekly clean here keeps the tub looking new. It can also stop slow drains and smells.
Pop-Up Drain Cleaning (No Scratches, No Residue)
Rinse the area first. Wipe the seen parts with a microfiber. Clean around the edges with a soft brush if needed.
If the pop-up drain cap can be lifted (based on its design), take it off carefully. Clear hair and bits. Then rinse and put it back. Keep all pads soft near the finish.
Overflow Outlet Wipe-Down
Wipe the overflow outlet edge with a soft cloth or soft brush. Rinse after. Do not shove dirt in. Light, steady cleaning is better than hard scrubbing later.
If the Finish Looks Dull: Safe Ways to Restore a Clean Look
A dull look is not always harmful. Sometimes it is leftover film. Sometimes it is mineral haze. It can also be tiny lines from old tools. Start with simple checks first.
Dull vs Dirty (A Quick Test)
Rinse the area well. Dry it all. Then check under bright light.
If it looks clear when wet but dull when dry, it is often mineral film. If it looks dull both wet and dry, it may be light surface wear.
Gentle Refresh Options for Solid Surface
Try a mild re-clean and longer rinse. Many dull spots are just bits left.
If the look still does not get better, follow the solid surface bathtub care tips for safe refresh steps. Skip hard polishing unless the maker says so.
A Maintenance Schedule You Can Actually Stick To
After each use, do a fast rinse, wipe, and dry. Give extra care to the base area.
Once a week, do the deep clean. Use wait time. Clean the base gap and the hardware.
Once a month, look for mineral rings and stain spots. Small fixes done early stop big jobs later.
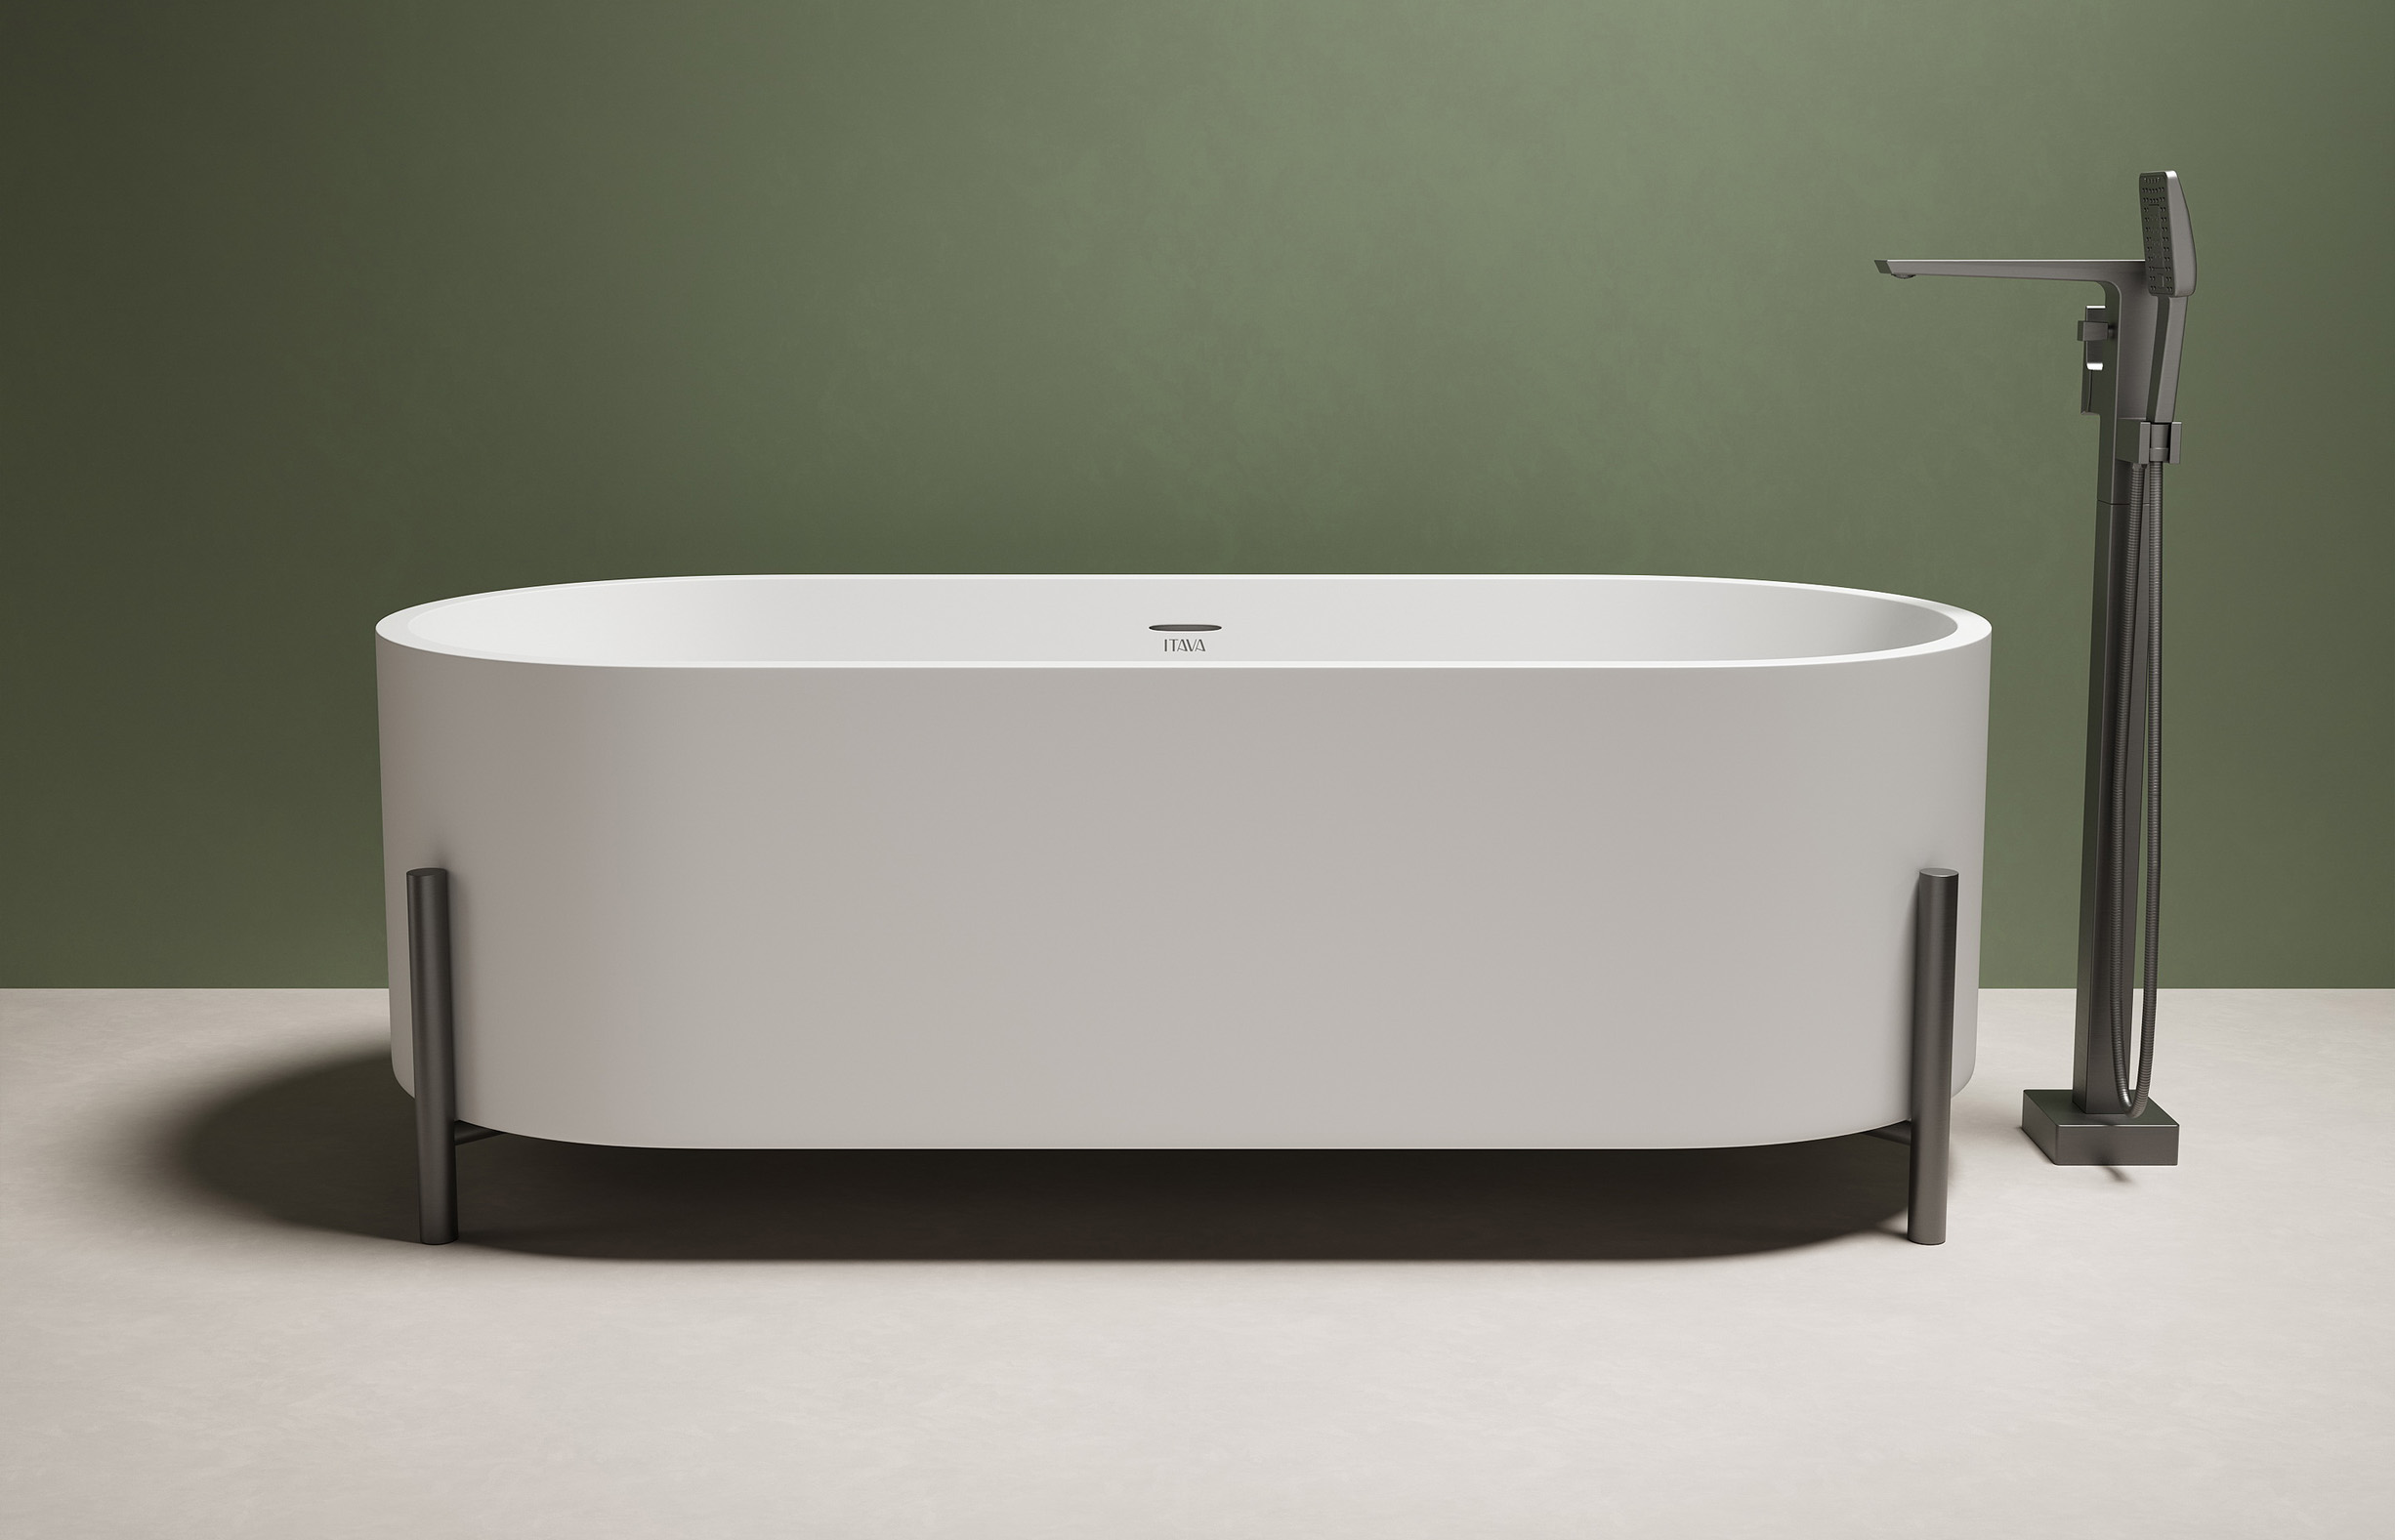
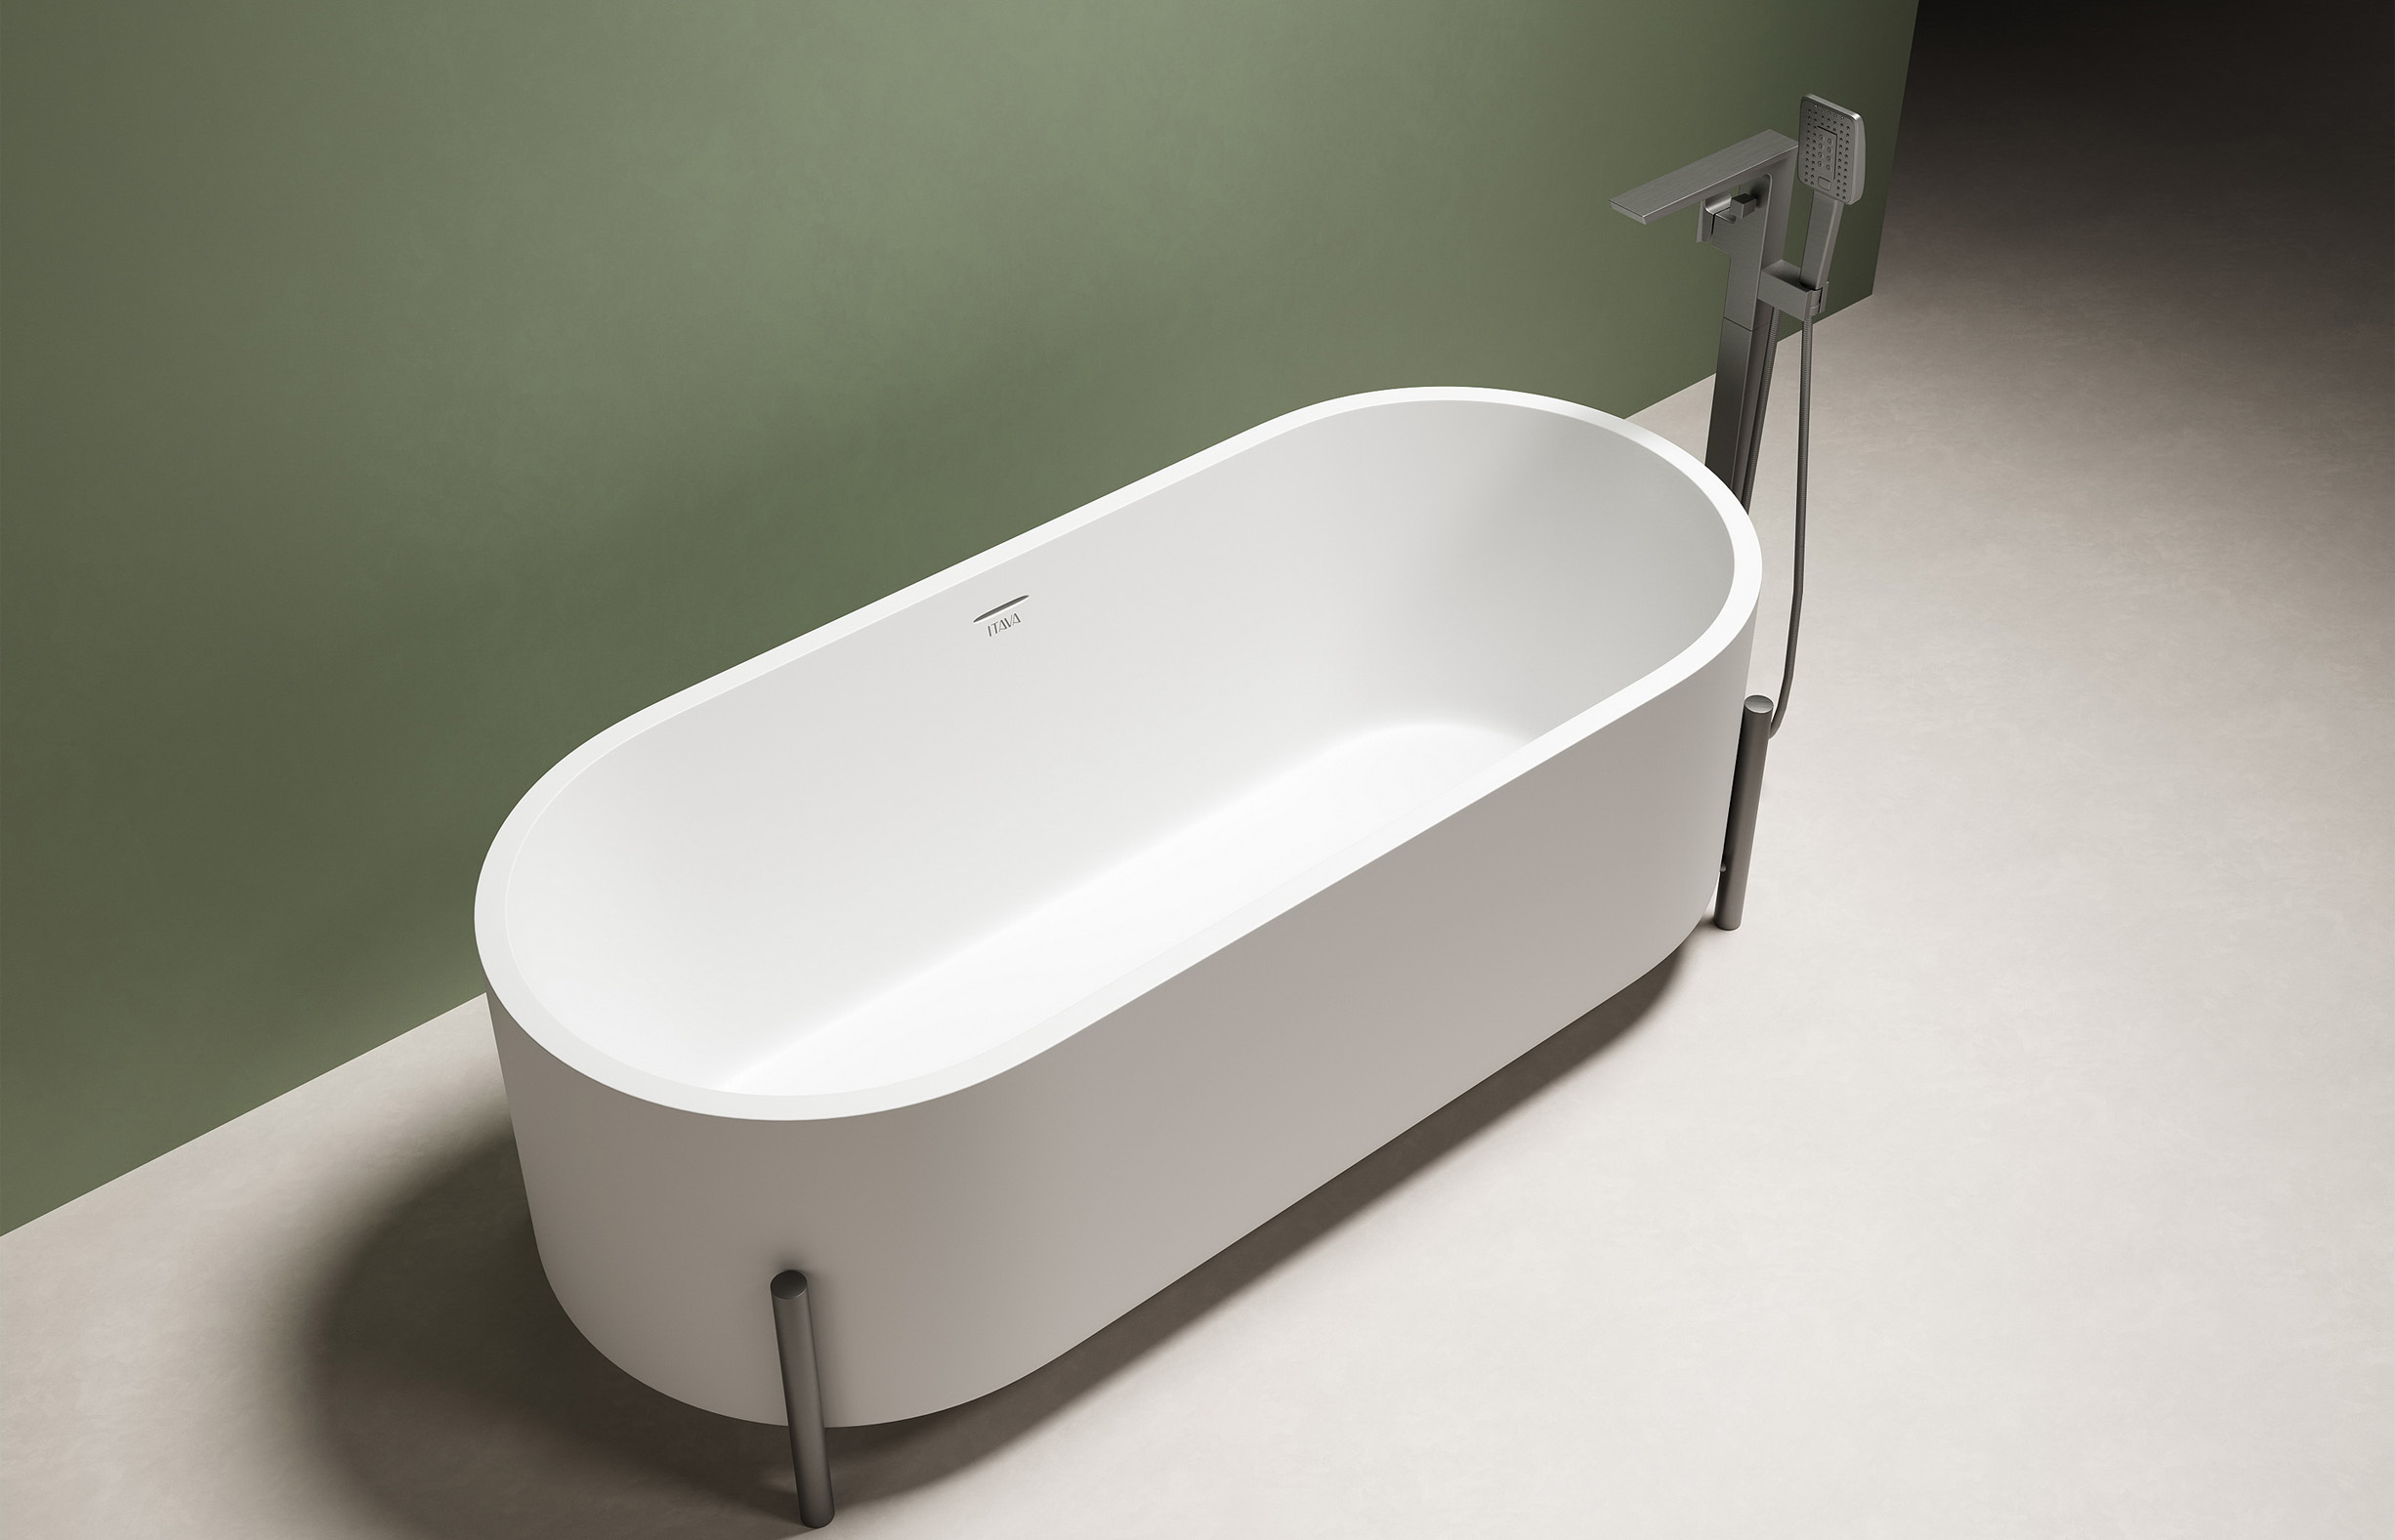
Why ITAVA Fits Minimalist Bathrooms
ITAVA designs freestanding bathtubs for modern, minimalist bathrooms, with clean lines and daily comfort. The TBF-06 is made from solid surface and has a smooth, pore-free surface that helps with easy care. It also uses an integrated overflow and a reliable pop-up drainage setup, so the design stays simple while daily use stays practical. With a size of 1600 × 700 × 560 mm, it works well by a window or as a calm focal point in an open layout.
FAQ
Q1: Can you use vinegar or acidic cleaners on a solid surface freestanding bathtub?
A: Be careful. Mild, diluted options may help with mineral film, but acids can dull some finishes if overused. Patch-test first, keep contact time short, rinse well, and dry.
Q2: What should you never use if you want to avoid scratches around the base?
A: Avoid abrasive pads, gritty powders, melamine “eraser” sponges, and steel wool. Also avoid wiping the base gap before removing dust and grit.
Q3: How do you clean the gap around a freestanding tub base if it is very tight?
A: Dry-clean first with a vacuum brush tool or dry microfiber. Then wrap a microfiber around a thin plastic card, slide it into the gap, wipe gently, rinse the cloth, and dry the floor line.
Q4: How often should you clean a pop-up drain and overflow outlet?
A: Weekly is a good rhythm if you use the tub often. Clean sooner if drainage slows or odor appears.
Q5: What should you do if hair dye or a strong product stains the tub surface?
A: Act right away. Blot, rinse, wash with mild soap, and avoid abrasive scrubbing. If color remains, use a safer targeted cleaner after patch-testing, then rinse and dry fully.